How to Conda Create YML From Current Environment: Complete Step-by-Step Guide
12/5/2025 • Admin
How to Conda Create YML From Current Environment: Complete Step-by-Step Guide
Managing Python environments is part of every developer’s workflow. Whether you're working on data science projects, machine learning models, API development, or automation tools, Conda environments keep your dependencies isolated and predictable. Eventually, you may need to share an environment, recreate it on another machine, or store it for version control. This is why learning how to conda create yml from current environment is an essential skill.
This guide walks you through exactly how to do it, why it matters, and how you can use the YAML file to reproduce your setup anywhere. You’ll also learn best practices and common pitfalls that developers encounter when exporting Conda environments.
What Does It Mean to “Conda Create YML From Current Environment”?
This phrase refers to exporting your current Conda environment into a YAML file. The YAML file contains:
- The environment name
- Python version
- Installed packages
- Channels used
With this YAML file, you or anyone else can recreate your environment exactly using:
conda env create -f environment.ymlThis makes your workflow portable, reliable, and reproducible.
Why Create a YAML File From Your Conda Environment?
Exporting a Conda environment is useful in many real-world scenarios.
1. Reproducibility
If you're working with machine learning, analysis scripts, or API applications, others need your exact dependencies to run the project without conflicts.
2. Backup and Version Control
Saving your environment as a YAML file means you can track it in Git, GitHub, GitLab, or any version control system.
3. Sharing Environments With Teammates
Your team can recreate your environment on their machines with a single command.
4. Deployment Environments
Cloud services like AWS, Azure, and GCP often require explicit environment definitions.
5. Simple Migration Between Machines
Switching laptops? The YAML file rebuilds your entire Python stack with ease.
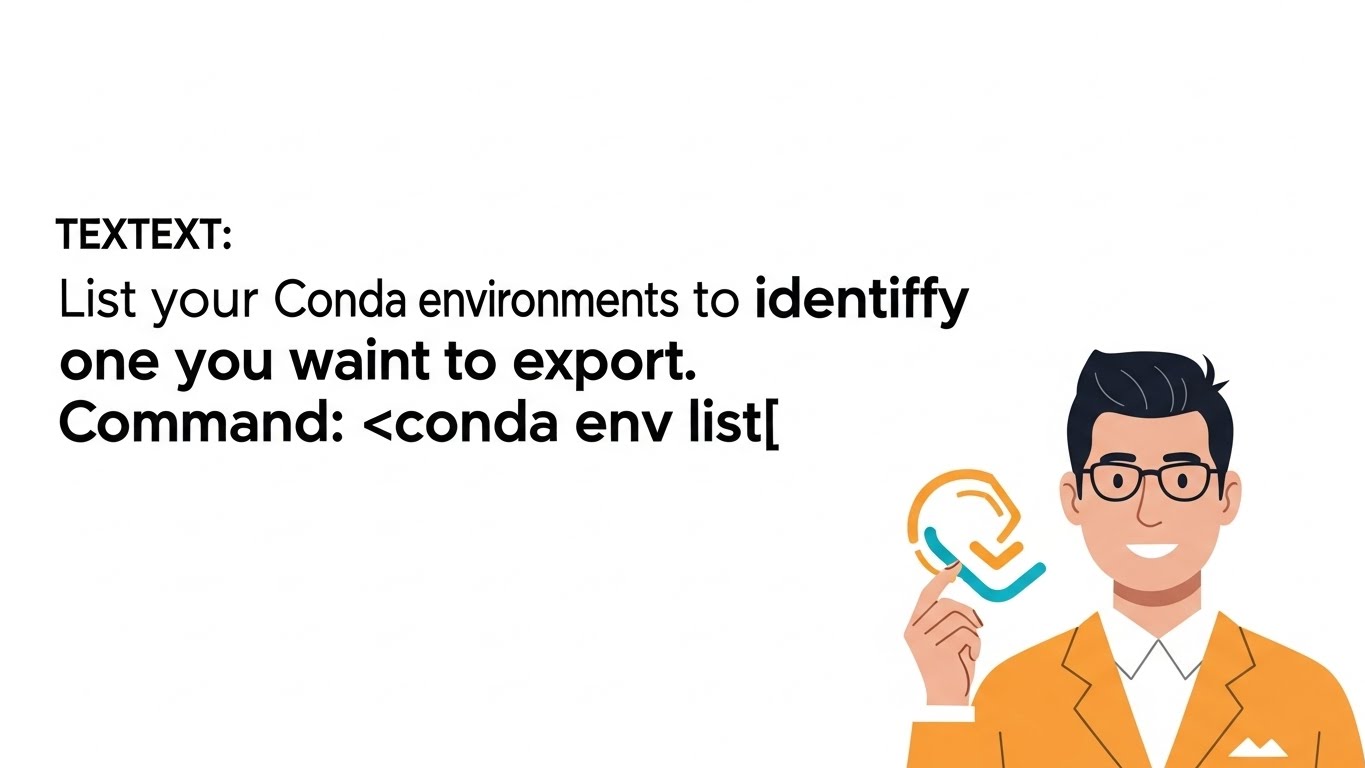
How to Conda Create YML From Current Environment
Exporting a YAML file from your active environment is simple. Let’s walk through the exact steps.
Step 1: Activate the Environment
conda activate myenvReplace myenv with the name of your environment.
Step 2: Export the Environment to YML
Run this command:
conda env export > environment.ymlThis saves the environment as environment.yml in your current directory.
Step 3: (Optional) Export Without Build Numbers
Build numbers can cause conflicts on other systems. To export a simplified file:
conda env export --no-builds > environment.ymlStep 4: (Optional) Remove Prefix Paths
YAML files often include system-specific paths. To remove them:
conda env export --no-builds | grep -v "^prefix: " > environment.ymlThis is the cleanest option for cross-platform sharing.
How to Recreate an Environment From a YAML File
Once you export your environment, recreating it is simple:
conda env create -f environment.ymlIf the environment already exists, use:
conda env update -f environment.ymlThis updates only the changed dependencies.
Understanding the Structure of a Conda Environment YML File
A typical environment file looks like this:
name: myenvchannels:
- defaults
dependencies:
- python=3.10
- numpy
- pandas
- pip:
- requests
- fastapi
Each section plays a role:
- name defines the new environment.
- channels tells Conda where to download packages from.
- dependencies includes Conda and pip packages.
- pip: lists pip-only packages.
Common Issues When Creating a Conda YML File
Although exporting is simple, you may run into a few issues.
1. Platform Dependency Conflicts
A YAML created on macOS may have issues on Windows or Linux.
Solution: Use --no-builds and remove the prefix path.
2. Environment Too Large
Conda environments can get bloated if unmanaged.
Consider cleaning unused packages:
conda clean --all3. Pinned Versions Causing Conflicts
If your YML file forces strict versions, Conda may struggle to resolve dependencies.
Solution: Remove pinned versions such as numpy=1.23.4 unless necessary.
4. Mixed Conda + Pip Issues
Dependencies installed through pip can conflict with Conda packages.
Solution: Keep pip packages inside the pip: list.
Conda Environment YAML Best Practices
Professionals follow several best practices to maintain clean, stable environments.
Keep the YML File Minimal
Avoid unnecessary pinned versions unless your project requires them.
Use Clear Naming Conventions
Examples:
- ml-env.yml
- api-env.yml
- research-env.yml
Document Environment Changes
Track updates in Git to maintain reproducibility.
Use Separate YML Files for Major Versions
For instance, one YAML for Python 3.9 and another for Python 3.10.
Conda and YAML in Modern Development Workflows
Developers use YAML not only for Conda but also for CI/CD pipelines, cloud configurations, container orchestration, and more. Understanding YAML improves your ability to manage infrastructure, not just environments.
FormatPilot tools like the JSON Beautifier and Text Tools are especially helpful when preparing configuration files or converting formats.
If you want to transform formats, the Universal Converter is perfect for moving between JSON, YAML, XML, and more.
How FormatPilot Helps You Work With YAML and Structured Data
Once you export your Conda environment to YAML, you may need to:
- clean the file
- format it for readability
- validate structure
- convert it to JSON or other formats
FormatPilot tools support exactly these workflows:
- Universal Converter — Converts YAML ↔ JSON ↔ XML
- JSON Beautifier — Great for cleaning or minifying structured data
- CSV to JSON — Output conversion for dataset work
- Text Tools — Clean up whitespace, extract strings, and modify configuration files
This ecosystem creates a smooth developer workflow from environment export to configuration cleanup.
Conclusion: Mastering How to Conda Create YML From Current Environment
Learning how to conda create yml from current environment empowers you to build reproducible environments, share dependencies easily, and maintain cleaner workflows. Whether you're collaborating with a team or deploying to production, the YAML file becomes a reliable blueprint for your entire Python stack.
To work more easily with structured data, YAML, and JSON, explore the free developer tools at FormatPilot.com. You’ll find converters, beautifiers, text utilities, and more—all designed to simplify your workflow.