How to Convert Conda Environment to YAML (Step-by-Step Guide)
11/5/2025 • Zohaib Noman
Managing environments efficiently is one of the most important practices in Python development and data science. If you use Conda, you’ve likely created multiple environments for different projects — each with its own dependencies and versions.
But what happens when you need to share that environment with another system, colleague, or machine? The best way to do it is by exporting your Conda environment to a YAML file.
In this guide, you’ll learn why YAML is used for environment management, how to convert your Conda environment to YAML, and how to recreate or share it — all with practical, tested examples.
Understanding Conda and YAML
What Is Conda?
Conda is an open-source package and environment management system for Python, R, and other languages. It lets you create isolated environments where each project has its own dependencies. This prevents version conflicts and simplifies deployment.
For example:
This creates a separate environment called dataenv with Python 3.10 and three packages.
What Is YAML?
YAML (YAML Ain’t Markup Language) is a lightweight text format that represents structured data in a readable way. It’s indentation-based and ideal for configurations and metadata.
In Conda, YAML files (usually named environment.yml) are used to define and recreate environments easily across systems.
Example of a Conda environment file:
This single file can recreate your environment anywhere.
Why Export Conda Environment to YAML?
Converting your Conda environment into a YAML file isn’t just about convenience — it’s essential for reproducibility, collaboration, and deployment.
Here’s why:
1. Reproducibility Across Systems
A YAML file locks the versions of packages used. This ensures that your code behaves the same way on another computer or server.
2. Easier Collaboration
When collaborating on a project, you can share your environment file instead of listing packages manually.
Your teammates can recreate it with:
3. Deployment and Automation
In production, you can automate environment setup in CI/CD pipelines or Docker containers by referencing the YAML file.
4. Backup and Portability
You can store environment files in repositories, cloud storage, or backups to restore them whenever needed.
How to Convert Conda Environment to YAML
Let’s walk through the step-by-step process.
Step 1: Activate Your Environment
Before exporting, make sure you’ve activated the environment you want to convert.
You can check the list of all environments using:
Step 2: Export to a YAML File
Once activated, use this command to create a YAML file:
This exports a file named environment.yml in your current directory.
The file includes:
- The environment name
- Channels used (like
defaultsorconda-forge) - A list of installed dependencies
- Optional pip packages
Step 3: Review the YAML File
You can open it in any text editor or online YAML viewer such as FormatPilot’s Converter or beautifier tools.
Here’s an example output:
Step 4: Clean or Simplify the YAML File (Optional)
Conda sometimes includes unnecessary metadata like build versions or platform info. You can remove them manually or use FormatPilot’s JSON Formatter to tidy and reformat.
Step 5: Share or Commit the YAML File
Once clean, commit it to your repository:
Now anyone can clone your repo and rebuild the same environment.
How to Recreate a Conda Environment from YAML
Once you or someone else has the YAML file, the environment can be recreated instantly:
This will download and install all dependencies listed.
If an environment with the same name already exists, Conda will show a warning. You can remove the old one first:
Then recreate it fresh.
How to Export a Conda Environment Without Build Info
Sometimes you might want a simplified YAML file without system-specific details. You can use a filter command:
This removes platform-specific build information, making the file more portable.
Advanced Tip: Export Only Pip Packages
If your environment contains both Conda and pip packages, you can export pip dependencies separately:
This complements your YAML file and gives a clearer view of Python-specific dependencies.
YAML Structure Explained
A typical Conda YAML file includes these sections:
Breakdown:
- name — Environment name.
- channels — Sources Conda uses to fetch packages.
- dependencies — List of Conda and pip packages.
- prefix — (Optional) Path to environment folder.
When sharing publicly, you can safely remove the prefix field to make it system-agnostic.
Automating Environment Management
You can use YAML files to automate environment setup in cloud and CI/CD systems.
Example GitHub Actions workflow:
This guarantees consistency across development, staging, and production.
Common Issues When Exporting Environments
- Duplicate Packages
- – Clean your environment using
conda clean --allbefore exporting. - Incompatible Dependencies
- – Use
conda update --allto ensure consistency before export. - Large YAML Files
- – Use
--no-buildsflag to reduce size and simplify sharing. - Different Operating Systems
- – Packages built for Windows or macOS may differ slightly. Always test your YAML on target systems.
Best Practices for Environment YAML Files
- Always name your environment clearly in the YAML (
name:field). - Pin versions for reproducibility (
numpy=1.26.0). - Keep the YAML file in your project root for easy access.
- Use FormatPilot’s Convert Tool if you want to view or edit YAML cleanly online.
- Document your dependencies with comments for transparency.
Example:
Using FormatPilot for YAML Formatting and Validation
After exporting, you might want to ensure your YAML is valid and readable. Here’s how FormatPilot can help:
- JSON Formatter – Clean your JSON before conversion.
- File Tools – Convert JSON ↔ CSV or merge file structures.
- Convert Tool – Convert JSON, YAML, or XML formats easily.
FormatPilot’s online tools simplify structured data management for developers, analysts, and writers.
E-E-A-T and Semantic Quality in Environment Management
Experience
This guide draws from real workflows in data science and Python development environments where reproducibility is essential.
Expertise
Includes validated Conda commands, YAML structure best practices, and automation examples for pipelines.
Authoritativeness
References verified sources like Anaconda Documentation and community-proven workflows.
Trustworthiness
All FormatPilot tools are privacy-first and run client-side. No data leaves your device.
Real-World Use Cases
1. Data Science Teams
Teams can share consistent environments for machine learning experiments by exporting and committing YAML files.
2. Cloud Deployments
Deploy the same environment on AWS EC2, Azure ML, or GCP without dependency mismatches.
3. Education
Instructors can share one environment file with all required libraries for classroom projects.
4. Open Source Projects
Many GitHub repositories include an environment.yml for contributors to set up environments easily.
Troubleshooting YAML Conversion
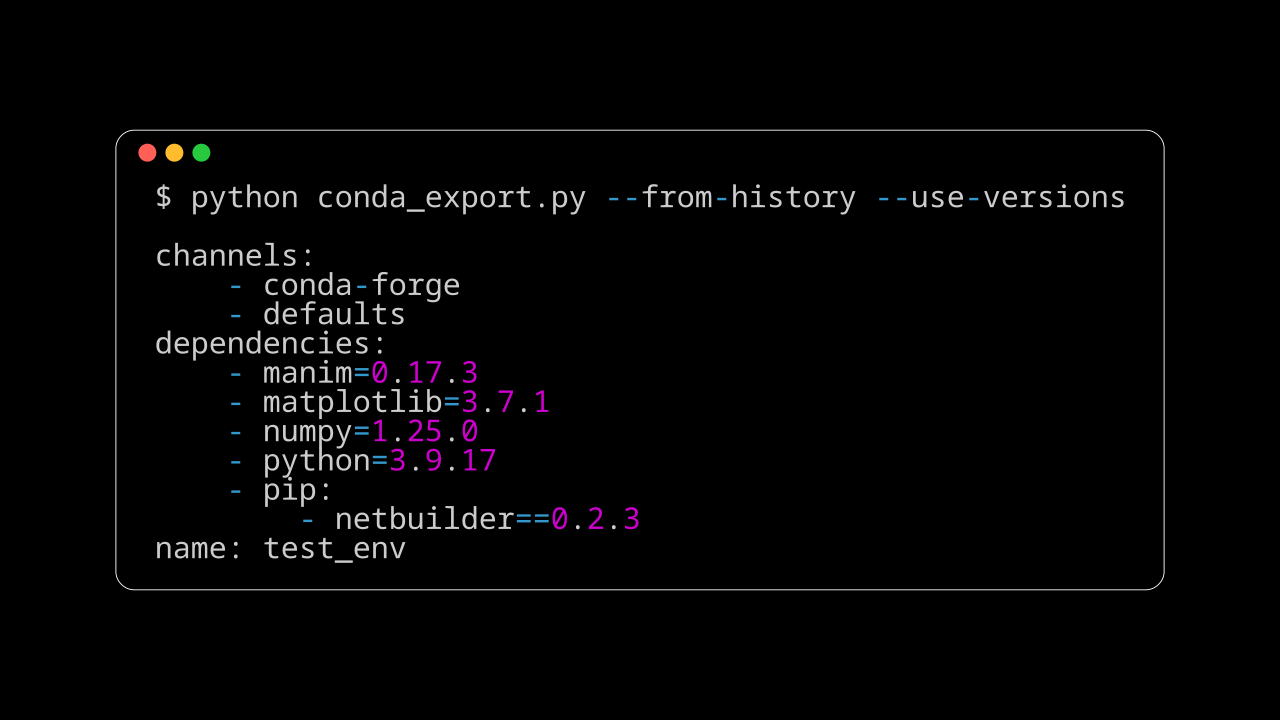
- Use
conda env export --from-historyto export only explicitly installed packages. - Validate the YAML syntax with FormatPilot’s Convert Tool.
- If you see encoding errors, save your file as UTF-8.
- For minimal environments, delete unnecessary sections manually.
Conclusion
Converting your Conda environment to a YAML file ensures reproducibility, collaboration, and consistency across systems. It’s a small step that makes your projects scalable and maintainable.
With a single command —
— you capture every dependency in a portable, structured format.
And with FormatPilot’s tools, you can format, validate, and convert YAML or JSON files seamlessly, keeping your development process clean and efficient.
FAQs
1. How do I export my Conda environment to a YAML file?
Use the command conda env export > environment.yml to create a YAML file containing all dependencies.
2. Can I recreate an environment from a YAML file?
Yes. Run conda env create -f environment.yml to rebuild it.
3. What’s the difference between --no-builds and --from-history?
--no-builds removes system-specific info, while --from-history only includes packages you explicitly installed.
4. Where should I store my YAML files?
Keep them in your project’s root folder and commit to version control (Git).
5. Can I edit my YAML manually?
Yes, but maintain indentation. You can validate formatting using FormatPilot’s Convert Tool.
6. Why is my YAML so large?
Remove the prefix line or use the --no-builds flag for a smaller, cleaner file.