How to Save Conda Environment to YML: A Step-by-Step Guide
11/20/2025 • Admin
How to Save Conda Environment to YML: A Step-by-Step Guide
Managing Python environments can become tricky, especially when working on large projects or collaborating with a team. One of the best practices in managing your Conda environments is to save your environment configuration to a YML (YAML) file. This not only helps with backup and versioning but also allows you to share your environment configuration with others. In this guide, we’ll show you how to save your Conda environment to a YML file and explain why this process is essential for your development workflow.
Why Save Conda Environment to YML?
There are several reasons why you might want to save your Conda environment to a YML file:
- Reproducibility: By exporting your environment, you can ensure that others can recreate the exact same environment with all the necessary dependencies, making it easier to collaborate on projects.
- Backup: Saving your environment to a YML file ensures that you have a backup of your working environment, which can be useful if you need to reinstall or recreate the environment later.
- Environment Sharing: Sharing your environment through a YML file makes it simple for team members to set up their environment quickly without worrying about dependencies or version conflicts.
- Version Control: When you save your environment to a YML file, you can track changes over time, making it easier to manage different versions of your environment.
Now, let's walk through the process of saving your Conda environment to a YML file.
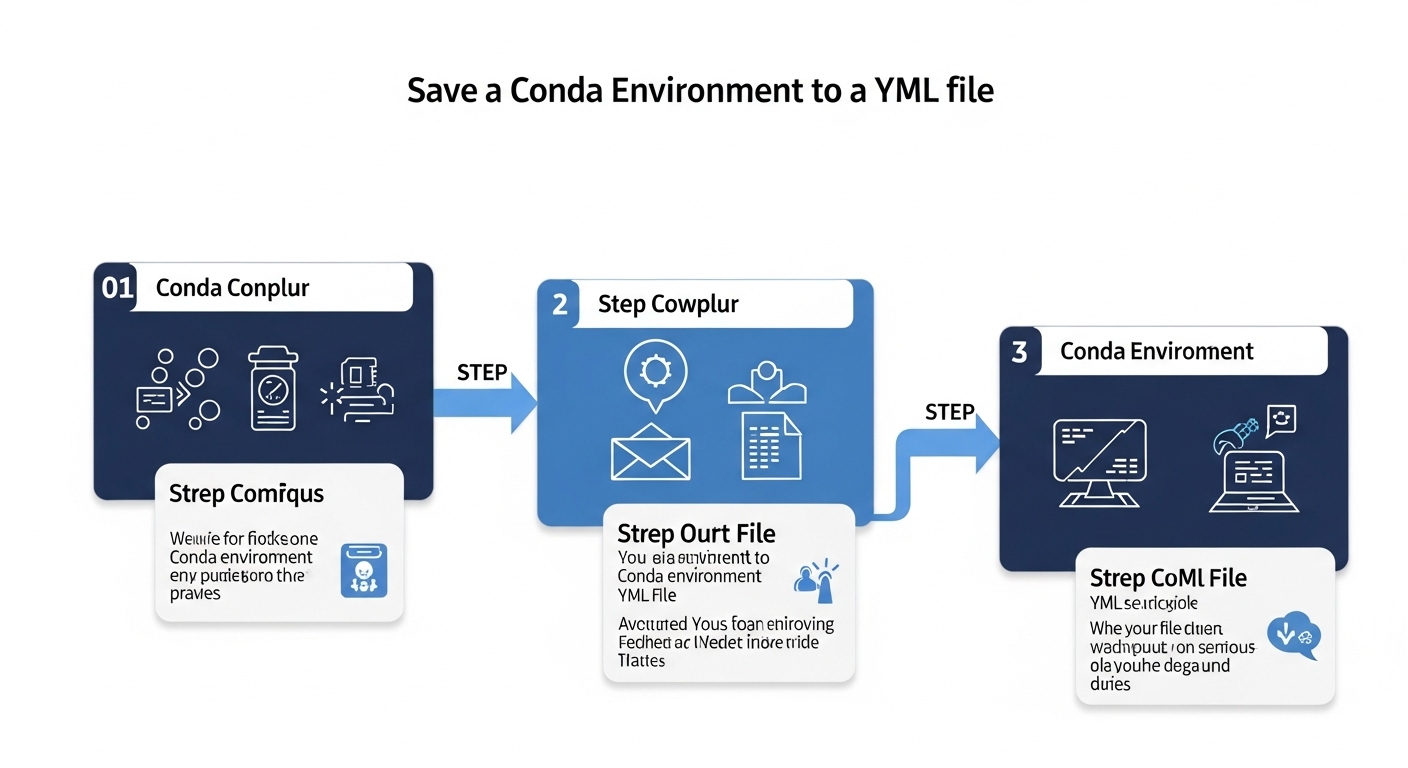
Steps to Save Conda Environment to YML
Follow these simple steps to save your Conda environment to a YML file:
Step 1: Activate Your Conda Environment
Before you can export your Conda environment to a YML file, you need to activate the environment you want to save. You can activate the environment using the following command:
conda activate
Replace <environment_name> with the name of the environment you want to export. For example, if your environment is called "myenv", use the command:
conda activate myenv
Step 2: Export the Environment to YML
Once your environment is activated, you can export it to a YML file using the conda env export command. This command will capture all the installed packages and their versions in the environment:
conda env export > environment.yml
This command creates a file named environment.yml in your current directory. The file will contain all the details about the environment, including the Python version and the installed packages with their versions.
Step 3: Verify the YML File
After exporting the environment, it's a good idea to check the content of the YML file to ensure everything looks correct. Open the environment.yml file with any text editor:
# environment.yml
name: myenv
channels:
- defaults
dependencies:
- python=3.9
- numpy=1.21.0
- pandas=1.3.0
- ...
The file should contain the environment name, a list of channels, and all the dependencies. This YML file is now ready to be used to recreate the environment.
Step 4: Share the YML File
If you need to share your environment with a team member or back it up, simply share the environment.yml file. They can use it to recreate the environment on their machine.
How to Recreate a Conda Environment from YML
If you or someone else needs to recreate the environment from the YML file, simply use the following command:
conda env create -f environment.yml
This command will read the environment.yml file and recreate the environment with all the packages and dependencies specified. It’s a great way to ensure everyone is working with the same environment setup.
Best Practices for Managing Conda Environments
Here are some best practices for managing your Conda environments and YML files:
- Version Control: Keep your environment.yml files under version control (e.g., in Git). This will allow you to track changes to your environment and easily revert to previous configurations if necessary.
- Use Clear Names for Environments: Name your environments based on the project or purpose they serve. For example, use names like "data-science" or "web-app" instead of generic names like "env1" or "env2".
- Include Dependencies in the YML File: Be sure to include all necessary dependencies in your YML file. This includes not just Python packages, but any system-level dependencies as well, like C libraries or external tools.
- Regularly Update Your YML Files: If you install new packages or update existing ones, remember to export your environment to the YML file again to keep it up to date.
Using FormatPilot Tools with Your Conda Environments
Working with Conda environments often involves dealing with configuration files, such as YAML files. FormatPilot’s suite of conversion tools can help you manage these files more effectively. For instance, you can use the YAML to JSON converter to transform configuration files for easier integration with other systems.
Additionally, if you need to clean or format your environment files, you can use FormatPilot’s CSV Cleaner or JSON Formatter to enhance readability and organization of your environment files.
Conclusion
Saving your Conda environment to a YML file is a great way to ensure reproducibility, share environments, and back up your configurations. By following the simple steps outlined in this guide, you can easily export and manage your Conda environments, ensuring consistency across different systems. Whether you’re working on a solo project or collaborating with a team, having a well-organized environment setup is essential for efficient development.
For more tools to manage your environment files and configurations, visit FormatPilot.com.
FAQs
- What is the command to save a Conda environment to YML?
The command to save a Conda environment to YML isconda env export > environment.yml. - How do I recreate a Conda environment from YML?
To recreate a Conda environment from YML, use the commandconda env create -f environment.yml. - Can I include specific versions of packages in the YML file?
Yes, the YML file includes package versions, which ensures that the recreated environment has the same versions of the packages as the original one. - What happens if my environment.yml file is outdated?
If your YML file is outdated, it may cause issues when recreating the environment. Always export your environment after installing or updating packages. - Can I share my environment.yml file with others?
Yes, you can share the environment.yml file with others to allow them to recreate the exact same environment.